


Most people would say that the dog is man’s best friend, but many men might say the AR-10 rifle is their best friend or at least a close second. The AR-15 is arguably the most popular rifle on the market but its uncle the AR-10 packs a bigger punch making it better for hunting and long-range shooting.
There are a dozen or more manufacturers producing modernized variants of the AR-10. They all sport various high-quality features to choose from, but have you ever considered building an AR-10 rifle yourself?
Building your own rifle can be a source of immense pride and hours of gun-building pleasure. You will want to avoid commonly made mistakes and we are here to help. Read on to learn how to build an AR-10 rifle in this complete guide.
Introducing the AR-10 Rifle
The AR-10 is a battle rifle designed by Eugene Stoner of American firearms manufacturer ArmaLite in 1953. The weapon was manufactured in the Netherlands from 1957 – 1959. The AR-10 battle rifle was designed to be a standard-issue military rifle for American infantrymen but the US Army wasn’t particularly impressed with the design.
The rifle found its production start with Artillerie-Inrichtingen in the Netherlands but when the Dutch army tested the AR-10 it was rejected. Despite a slow start the Portuguese found the weapon to their liking and was in the middle of receiving a large order of the rifle when manufacturing halted in 1959.
Despite its not so well-received start the AR-10 and its modern variations have found notoriety lately. The AR-10 was the precursor to the famous AR-15 rifle that is one of the best selling rifles today. It might be this fact that gives building AR-10 rifles its popularity with rifle enthusiasts.
Building an AR-10 Rifle
If you have never built a rifle before you will certainly need to learn a few things first. This is not a complete guide for building your rifle but most of the instructions you need to assemble the weapon will come with the parts. Here are a few tips to help you on your journey:
Compatibility
Unlike the AR-15, the AR-10 is not standardized which means not all AR-10 parts will be compatible with each other. When planning the build make sure your parts on your list are compatible by checking with the parts dealer first.
Some parts of the AR-15, like the safety, trigger, and trigger springs can be used in your AR-10 build with no issues. Other parts of AR-15 rifles such as the bolt catch, takedown pins, and magazine catch are not compatible with an AR-10 build.
Getting Ready
After you have consulted your AR 10 parts supplier and have received all the parts you need to build your rifle it is time to get building. First, clean off your work area and layout all the parts.
Have a set of allen wrenches and a few sizes of adjustable wrenches. A gun vice is highly recommended and will make your build much easier. Eye protection is also a good idea after all nothing like a spring in the eye to ruin your day.
Building the Lower
Rifles are built in two stages. It makes no difference in which order you build them. We will be covering the process from the bottom up. Here are the steps for building the lower rifle section and pitfalls to avoid:
Parts List
- Lower Receiver
- Pistol Grip
- Selector
- Magazine Release
- Trigger
- Take Down Pins
- Buffer Tube
- Buffer
- Buffer Spring
- Buttstock
Dry Fit the Grip
Start by fitting the pistol grip to the lower receiver. Most AR-15 grips will leave a gap that you don’t want. Make sure you adjust the backstraps to make a tight seal with the receiver.
Install Mag Catch and Mag Release Button
It’s a three-part assembly. Be sure to follow the instructions on the package carefully. The most common error is not making sure the button and catch are flush with the lower end. It may take some adjustments to get the action perfect.
Install the Bolt Stop
This step is a little tricky and involves a little hammering. Take your time and make sure the connections are tight with your hex wrench.
Install the Captive Front Takedown Pin
Here you will need a special tool of the trade called a takedown pin pivot tool. Put the tool into place lining it up just right. The tool allows you to drop the spring and plunger in place and guide the takedown pin as you remove the tool. Simply put – use the tool or you will find yourself needing three hands.
Install the Trigger
Triggers are simple to install and it is virtually impossible to make a mistake here. Install the trigger by lining up the holes and pinning it in place. Important: Don’t tighten the locking pins all the way yet. complete the next step first.
Install Selector Switch/Manual Safety
Install the plunger and spring and tighten it down with the small screw inside the grip. The spring has to be lined up perfectly or it will pop loose. Don’t forget to go back and tighten the locking pins on the trigger.
Install Buffer Tube, Rear Take Down Pin, and Buffer Assembly
We won’t go into the details here because there are many steps. Just be sure to tighten the castle nut to 35 to 40 lbs per foot. Another hint: watch the spring it easily jumps when installing the buffer assembly.
Building the Upper
The bad news is the lower is considerably easier to build than the upper section of the rifle. Keep in mind AR-15 parts don’t generally work when assembling the higher caliber AR-10 rifle. Building an upper rifle takes precision and shouldn’t be taken lightly. When in doubt seek the advice of an expert.
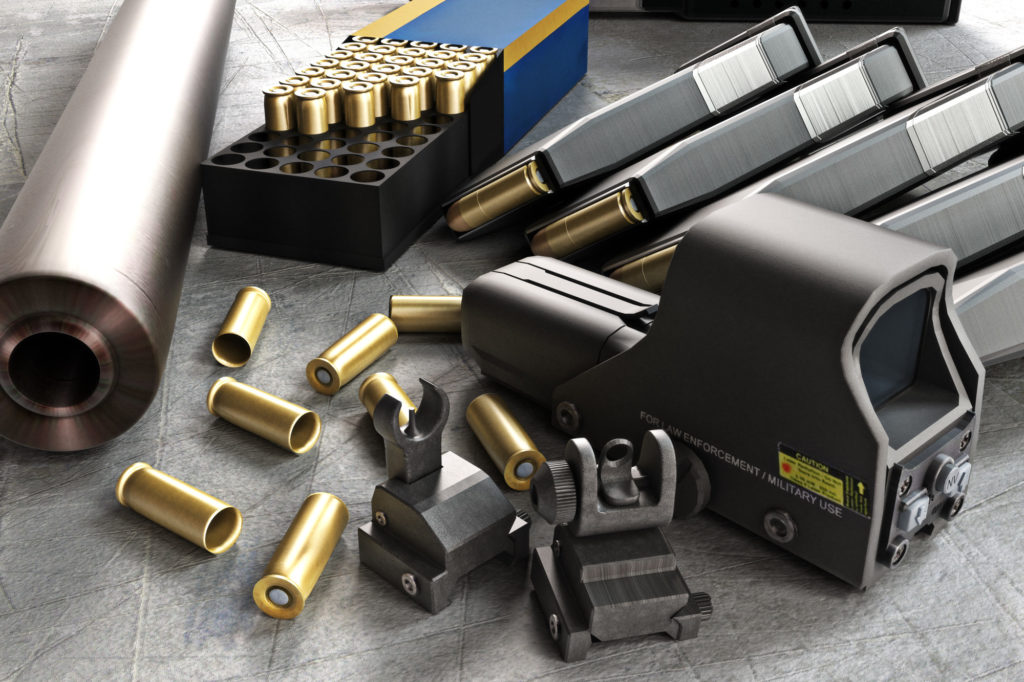
Parts List
- Upper Receiver
- Forward Assist
- Barrel
- Barrel Nut
- Gas Block
- Gas Tube
- Muzzle Device
- Bolt Carrier Group
- Charging Handle
- Forends
- Optic Mount
- Optic
Install the Forward Assist
Not all builds will require this step but if its needed best to do this first. This is where that gun press will come in handy to lock down your upper while you install the forward insist into the port.
Lap The Receiver
Lapping the receiver will make sure the barrel meets the receiver perfectly flush. This must be done to ensure the best fit. A little off here and it will affect the accuracy of the weapon.
Install the Barrel
Give the receiver and upper a good once over with a rag to get any lapping compound left behind. Important: make sure you clean the threads with a wire brush to prevent a locked connection.
Install Gas System
Follow the directions to install the gas block. If the alignment is right, there should be a little movement back in forth in the gas tube.
Install the Handguard
Handguards are a no-brainer. Screw the handguard into the barrel nut and you are done. There are several different sizes of adapters so be sure you buy the right part for your upper.
Install a Muzzle Device
Muzzles are easily installed by simply screwing them down and locking them into place. Make sure everything is tight and level.
Assemble the Bolt Carrier Group
Bolt carrier groups consist of six parts. Assembly is complicated but it is a step by step process and easy to follow from written instructions. You basically can’t assemble it wrong and as long as you follow the steps it all locks into place rather quickly and easily.
Insert The Charging Handle and BCG
Slide the charging handle into place making sure it is lined up with the gas key. Make sure the bolt is fully extended first or the BCG won’t pop into place.
Install an Optic
Attach the mount and screw in the rifle scope. This is arguably the most important part of the build after all if you don’t get the scope installed right hitting your target will be in serious doubt.
The last step is mounting the upper to the lower. That’s it that’s all. Easy right? Okay, maybe not easy, but build a few A-10 rifles and you will be an expert gun builder before you know it.
Take the Challenge
Build or buy an A-10 rifle? With a little study, time, and bravery you can build a rifle that will be the envy of all your friends. Take the time to learn about the parts of the weapon and how they work. Stay safe and don’t be afraid to ask the professionals for advice.
The more you know about building an AR-10 before you start the easier and more enjoyable the project will be. For more great tips and projects for The Freeman Online take a look at some more recent articles for a better everyday life.


