


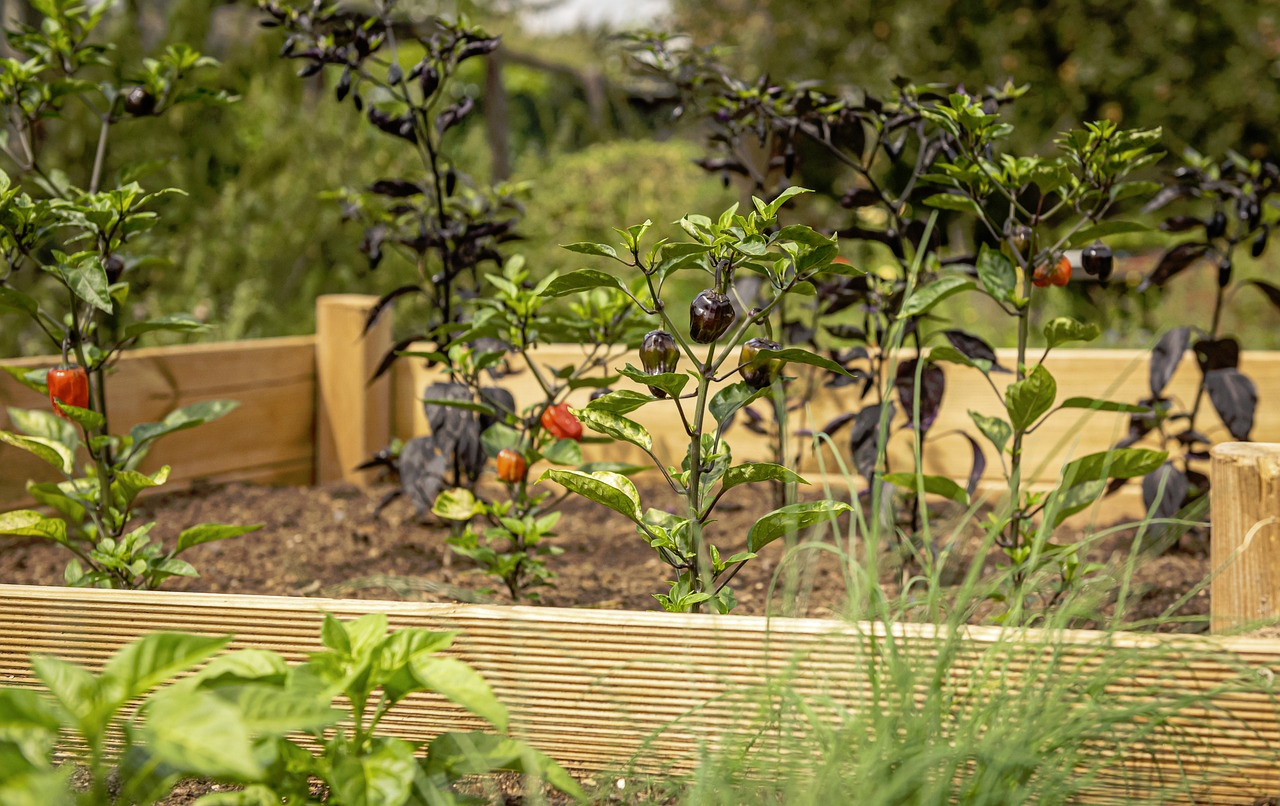
 Raised beds can breathe new life into your garden and make it easier to manage, so you don’t need green fingers to get great results.
In order to construct a raised bed from reclaimed materials, there are a few steps to follow, so keep reading and we’ll bring you up to speed with what you need to do to get started.
Gather Your Reclaimed Materials: What You Need and Where To Find It
Before you can begin, it’s important to have all the necessary supplies on hand. Depending on the size of your project, this may include wood scraps or pallets, screws or nails, concrete blocks or bricks for stability, and a soil/compost mix.
One great way to find these items is by visiting local home improvement stores, which often receive shipments of materials that can be repurposed into a beautiful garden bed.
Alternatively if they don’t carry what you need, then try searching online marketplaces like Craigslist, eBay or Facebook Marketplace. You’d be surprised what kinds of materials people are willing to just give away.
If none of those methods work out, ask around in your neighborhood. Odds are someone has exactly what you’re looking for.
Bear in mind that if you’re doing this DIY project with a view to improving the curb appeal of your home with a view to increasing its value and saleability, it’s definitely a budget-conscious option. For more serious equity upgrades, it’s worth looking into loan options that offer flexibility, as spending more to make more significant improvements is always worthwhile.
After setting up your main garden bed, you might also consider enhancing the overall aesthetics of your outdoor space by adding some charming PVC window boxes for your home. These boxes can further showcase your gardening skills and bring a touch of nature to your windows, complementing the beauty of your reclaimed-material garden.
Preparing the Site for your Raised Garden Bed
This is an important step, as it will determine how successful your garden bed will be in terms of drainage and stability.
Begin by choosing a spot with good sunlight exposure, and make sure to clear away any weeds or debris. Then use stakes or string lines to mark out where you want your bed frame edges to go.
Next up is leveling out the ground. You may need some extra sand or topsoil if necessary here! Once everything looks leveled off nicely, spread wood chips around so they can help absorb excess moisture after watering sessions.
Finally add compost into any areas that are not covered by wood chips before beginning construction. This will give plants added nutrients while also improving drainage.
Building the Frame for your New Garden Bed
Depending on what materials you chose, this can be done with wood scraps or pallets. If using wood then make sure to pre-drill holes as needed before screwing them together. If using pallets, they should already come in sections, so no assembly required there.
Once all pieces are connected, secure them firmly into place using concrete blocks or bricks around the perimeter of each side (on top) of your frame. This will help keep everything stable while also making sure soil doesn’t escape during regular watering.
Now all that’s left is adding some decorative touches like paint or wood stain. Be sure to choose weatherproof, non-toxic products so that they’re durable and kind to plant and animal life.
Planting, Growing & Enjoying a Beautiful Reclaimed-Material Garden
Congratulations, you’ve successfully built your own raised garden bed from reclaimed materials and are now ready to start planting seeds or seedlings. Before you do that however, take some time to fill up the frame with a soil/compost mix, making sure it’s spread evenly, and then water everything down before adding any plants.
Now it’s time for the fun part: picking out what type of vegetables, herbs or flowers you’d like in your new garden! There are so many possibilities here, but make sure whatever plants you choose will thrive in the environment they’re being placed within.
Once all is said and done, enjoy tending to your beautiful creation as much (or little!) as possible. Soon enough there’ll be plenty of fresh produce coming straight from this amazing DIY project for everyone involved to enjoy.


